Learn CNC milling machine programming with step-by-step guides on G-code, tool paths, feeds, and software to master precision machining efficiently.
If you’ve ever stared at your CNC milling machine wondering, how do I even start programming this thing?—you’re not alone. CNC milling machine programming might seem complex, but getting it right is the key to turning digital designs into precise, flawless parts without the usual headaches. Whether you’re a hobbyist stepping into the world of machining or a workshop pro aiming to sharpen your skills, mastering the essentials of CNC programming will save you time, reduce errors, and boost your productivity. Let’s cut through the jargon and get you confidently writing code that makes your mill hum perfectly every time.
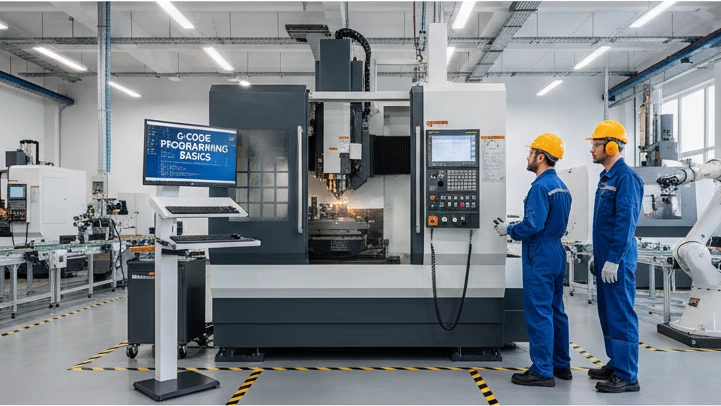
Understanding the Basics: What Is CNC Milling Programming?
CNC milling programming is the process of turning a CAD design into machine instructions that control the milling machine’s movements and actions. This is done by writing—or generating—code that tells the machine how to cut the material precisely according to the design. The key languages here are G-code and M-code.
- G-code controls toolpaths, moving the cutting tool along defined axes (X, Y, Z) at set speeds and feeds.
- M-code handles machine functions like spindle on/off, coolant flow, and tool changes.
Together, these codes tell the CNC mill when and where to cut, how fast to spin the tool, and when to switch cutters or turn on coolant.
Key Components You Need to Know
- Axes: Most mills operate in three directions—X (left-right), Y (front-back), and Z (up-down).
- Work Offsets (G54-G59): These are coordinate reference points that help the machine understand where the part sits on the table.
- Coordinate Systems: Programming uses absolute coordinates (fixed origin) or incremental coordinates (relative moves) to guide the tool.
Clearing Up Common Myths
- Myth 1: G-code is too difficult to learn. While it looks complex at first, many user-friendly controllers and CAM programs simplify coding.
- Myth 2: CAM software replaces programming skills entirely. While CAM generates code automatically, understanding G-code helps troubleshoot and optimize programs.
Vast Tip for Beginners
Don’t get overwhelmed—start with CNC controls that have conversational interfaces or built-in editors. These let you create simple programs without deep coding knowledge, making it easier to learn the ropes before diving into full G-code programming.
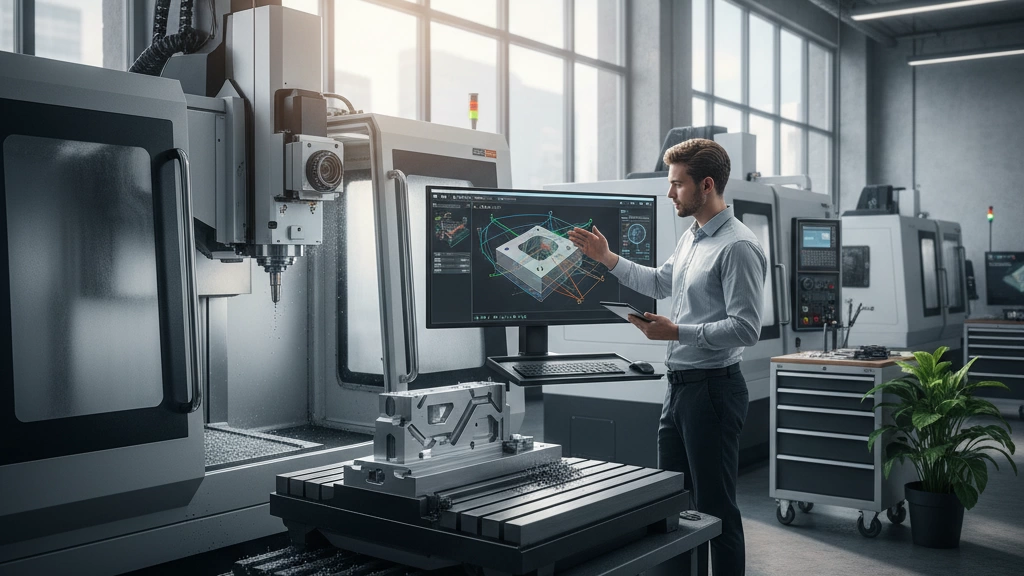
Essential Tools and Software for CNC Milling Programming
When programming a CNC milling machine, having the right hardware and software is key.
Hardware Essentials
- 3-axis vs. 5-axis mills: Most shops start with 3-axis mills, which handle X, Y, and Z movement. For more complex parts, 5-axis mills add rotational axes for better reach and detail.
- Cutting tools: End mills are your go-to for most milling tasks, while face mills cover large flat areas quickly. Choosing the right cutter affects finish and speed.
- Workholding: Secure your parts with fixtures, vises, or clamps. Good workholding keeps parts steady and ensures accuracy during milling.
Software Breakdown
- Manual code editors: For those who like hands-on control, editors let you write and tweak G-code directly.
- Conversational interfaces: Beginner-friendly, these let you input basic dimensions and commands without deep coding knowledge.
- CAM software: Fusion 360 and Mastercam are top choices in the U.S. Both offer easy toolpath creation, automatic G-code generation, and simulation features.
Setup Checklist
Before running programs, follow these quick steps:
- Load your CNC program into the machine controller.
- Verify and set work offsets like G54 to ensure correct part positioning.
- Double-check tool lengths and tool changes are properly registered.
- Follow safety protocols: wear protective gear, confirm no obstructions, and run dry cycles when needed.
With the right tools and preparation, CNC milling programming becomes smoother, safer, and more precise.
G-Code Fundamentals: The Language of CNC Mills
G-code is the basic language that tells a CNC milling machine exactly what to do. Every move, speed, and tool change is controlled with these commands. Let’s break down a simple G-code line:
Example: G01 X2.0 Y1.0 F50
- G01: Move in a straight line (linear interpolation)
- X2.0 Y1.0: Coordinates to move to on the X and Y axes
- F50: Feed rate of 50 units per minute (how fast the tool moves)
Must-Know G-Codes
- G00: Rapid positioning (move quickly without cutting)
- G01: Controlled linear cut
- G02 / G03: Circular interpolation, clockwise (G02) and counterclockwise (G03) arcs
- Canned Cycles (G81, G83, G84): Pre-programmed routines like drilling or tapping, which save you coding time
- Units and Compensation:
- G20 / G21 – Set inches (G20) or millimeters (G21)
- G41 / G42 – Cutter compensation left/right to adjust for tool diameter during cuts
M-Code Essentials
M-codes handle machine functions like:
- M03 / M04: Spindle on clockwise/counterclockwise
- M05: Spindle stop
- M06: Tool change
- M08 / M09: Coolant on/off
Example Snippet: Basic Facing Program
%
O1000 (Facing Program)
M06 T01 (Tool change to tool 1)
M03 S1200 (Spindle on at 1200 RPM)
G00 X0 Y0 Z1.0 (Move to safe start position)
G01 Z-0.1 F20 (Cut down 0.1 inches at feed 20)
G01 X2.0 Y0 F40 (Face along X-axis)
G01 X2.0 Y2.0 (Move along Y-axis)
G01 X0 Y2.0 (Move back along X-axis)
G01 X0 Y0 (Return to start)
M05 (Stop spindle)
M30 (End program)
%
Pro Tip:
Use G04 dwell to pause the tool for a moment during operations—this helps with cleaner finishes and better tool engagement.
Understanding G- and M-codes makes programming and troubleshooting much easier. Once you get these down, you’ll program CNC mills like a pro.
Step-by-Step: Writing Your First CNC Milling Program
Getting started with CNC milling machine programming can feel tricky, but breaking it down makes it manageable. Here’s how I approach writing my first program:
Program Planning:
- Blueprint Analysis: Study the part drawing carefully—check dimensions, features, and tolerances.
- Tool Selection: Pick the right cutters (end mills, face mills) based on material and operations.
- Speeds/Feeds Calculations: Use the SFM (Surface Feet per Minute) formula to calculate spindle speed and feed rates—this keeps your cuts smooth and tool life long.
Header and Footer:
Your program should start and end with standard coding lines for safety and control:
- Header: Sets units (inches or mm), coordinate system (G54 work offset), and tool number.
- Footer: Stops spindle, turns off coolant, and ends the program cleanly with M30.
Full Walkthrough:
- Safety and Setup: Double-check tool offsets, zero the machine, and verify workholding.
- Roughing Pass: Remove bulk material with higher feed and slower speed to avoid tool damage.
- Finishing Cycles: Switch to finer cuts for surface quality, using canned cycles or G01 moves.
- Simulation Verification: Always run your program in a CNC simulation software or controller dry run before cutting metal.
Common Pitfalls:
- Tool Length Offsets: Forgetting to set or verify these can cause crashes or wrong cuts.
- Feed Overrides: Make sure overrides aren’t engaged, or you might feed too fast or too slow unexpectedly.
Vast Integration:
If you’re using Vast, it auto-generates your program headers based on your settings—saving time and reducing mistakes in the startup code. This is a big help especially for beginners looking to speed up their programming workflow.
Advanced Techniques: Optimizing CNC Programs for Efficiency
To get the most out of your CNC milling machine programming, focusing on advanced techniques can save time and improve your part quality. Here are some key strategies:
Tool Path Strategies
- High-speed machining: Uses smooth, continuous tool paths to minimize sharp stops and starts, reducing cycle time and tool wear.
- Adaptive clearing: Efficient roughing method that maintains consistent tool load by adjusting cut depth and width on the fly.
- Helical interpolation: Great for drilling or pocketing round holes, this moves the cutter in a spiral path, improving tool life and surface finish.
Subprograms and Loops
Using M98 calls and subprograms allows you to repeat patterns like bolt circles or repetitive features without rewriting code. This keeps programs cleaner and easier to manage.
Multi-Axis Intro
Programming for 4-axis and 5-axis CNC mills opens up possibilities for more complex parts. These machines rotate the part or the tool, allowing machining of tilted or angled surfaces in one setup. Basics include syncing rotary axes with linear moves and understanding tilt limits.
Troubleshooting
- Chatter diagnosis: Vibrations that cause surface marks; fix by adjusting speeds/feeds or toolpath strategy.
- Collision avoidance: Verify tool paths with simulation software to prevent crashes between tool, workpiece, or fixtures.
- Tolerance control: Precision demands checking G-code offsets and machine calibration.
Case Study: Vast User Success
One Vast user improved efficiency by about 20% machining aerospace brackets by switching to adaptive clearing and subprogram loops for drilling bolt patterns. Integrating these advanced techniques cut cycle times while boosting part accuracy.
Applying these tips will help you write smarter CNC milling programs that maximize machine performance and reduce costly errors.
Best Practices for Error-Free CNC Milling Programming
Avoiding errors in CNC milling programming saves time, money, and headaches. Here’s how to keep your programs clean and efficient:
Simulation and Dry Runs
Before you run your CNC mill, always verify your program using CAM simulation software. Dry runs help catch tool collisions, out-of-range moves, and programming mistakes without risking damage to your machine or tools.
Feeds and Speeds Mastery
Master your feeds and speeds by using material-specific tables and chipload guidelines. Calculating the material removal rate properly ensures smoother finishes, longer tool life, and faster cycle times. Don’t forget to adjust for different cutters like end mills or face mills to optimize results.
Maintenance and Clean Code
Write clear, commented code to make troubleshooting easier and maintain tool life. Removing unnecessary commands and avoiding abrupt stops extend both your machine’s and tooling’s longevity.
Scaling Up with Batch Programming
If you produce parts in volume, use batch programming techniques. Reusable subprograms and parameterized code speed up setup and reduce repetitive coding errors.
SEO Tips for CNC Milling Programming
To help you find answers quickly, look for infographics on common CNC errors and FAQs optimized for voice search. These resources make troubleshooting faster and simpler, especially when you’re on the shop floor.
By following these best practices, you keep your CNC milling projects running smoothly, reduce downtime, and get the most out of your equipment.