Discover vapor polishing techniques to achieve smooth, glossy, and clear plastic finishes for 3D prints acrylic and polycarbonate parts.
Are you tired of your plastic parts coming out rough, hazy, or visibly layered—especially after 3D printing or machining? Vapor polishing might just be the secret weapon your prototypes have been missing. This chemical finishing technique uses solvent vapors to melt and smooth the surface at a microscopic level, delivering that sleek, crystal-clear finish professionals crave. Whether you’re dealing with acrylic, ABS, or polycarbonate, mastering vapor polishing can transform your rough plastic into flawless, glossy components faster and more cost-effectively than traditional methods. Dive in to uncover how this process works, why it’s favored across industries, and how you can get started with confidence.
What Is Vapor Polishing A Deep Dive into the Process
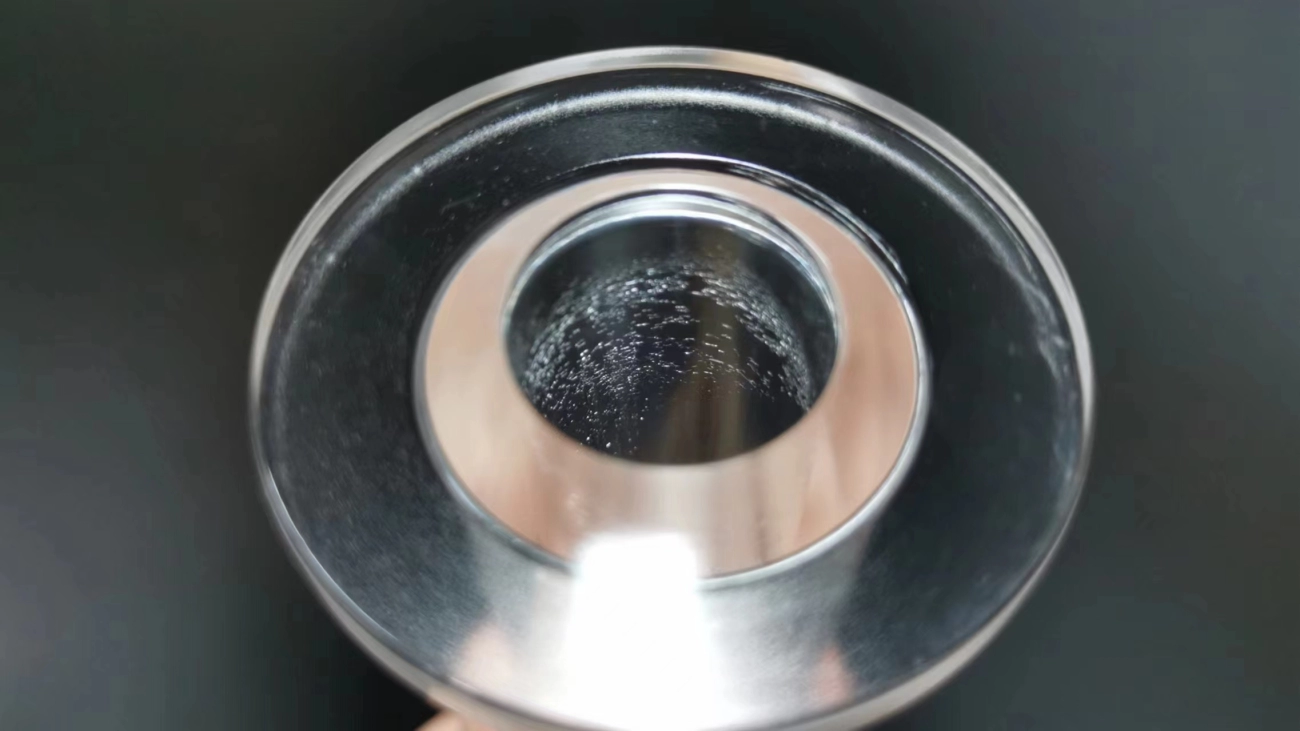
Vapor polishing is a specialized finishing technique used to smooth and enhance the surface of plastic parts, especially those made from thermoplastics like ABS, polycarbonate, and acrylic. This process uses chemical vapor—commonly acetone or other solvents—that gently melts the outer layer of the plastic. As this thin layer re-solidifies, it forms a glossy, clear, and smooth finish. Unlike mechanical sanding or flame polishing, vapor polishing provides a uniform surface without physical abrasion or risk of burning.
The Science Behind Vapor Polishing How It Smooths Plastic Surfaces
The magic of vapor polishing lies in the controlled interaction between the solvent vapor and the plastic’s surface. When exposed, the solvent softens the microscopic peaks and valleys created during manufacturing or 3D printing. This softening allows the material to flow slightly, filling tiny gaps and imperfections. Once the vapor is removed and the plastic cools down, the surface hardens into a smooth, high-clarity finish that enhances optical transparency and reduces light scattering.
Vapor Polishing vs Traditional Methods Why It Wins for Clarity
Compared to traditional polishing methods like sanding, buffing, or flame polishing, vapor polishing stands out for several reasons:
- Uniform finish: No uneven patches or scratches since no direct physical contact occurs.
- Enhanced clarity: Vapor polishing restores or boosts optical transparency, crucial for display or light-guiding parts.
- Minimal distortion: Unlike flame polishing, which can warp delicate parts, vapor polishing gently smooths without risking shape changes.
- Time-efficient: Typically faster and less labor-intensive, making it ideal for rapid post-processing of 3D printed prototypes or clear plastic models.
In , vapor polishing leverages chemistry over force to deliver superior surface quality, making it a preferred choice for achieving crystal-clear, smooth plastic parts.
Ideal Materials and Applications for Vapor Polishing
Which Plastics Shine with Vapor Polishing
Vapor polishing works best on certain types of plastics, especially thermoplastics like ABS, polycarbonate, and acrylic. These materials respond well to chemical vapor smoothing plastics, which helps to melt the surface just enough to smooth out rough edges, layer lines, and imperfections left from machining or 3D printing. For example:
- ABS: Highly compatible with vapor polishing, making it popular for ABS 3D print vapor finishing. It smooths out visible layer lines and boosts clarity.
- Polycarbonate: Great for polishing polycarbonate for clarity, vapor polishing enhances its optical transparency while giving it a glossy, smooth finish.
- Acrylic: Often treated with solvent-based methods, but vapor polishing is also effective for solvent polishing acrylic parts, improving shine and clarity.
Real World Uses From Prototypes to Production
Vapor polishing is widely used in various stages of product development and manufacturing, thanks to its ability to improve surface quality quickly and affordably:
- 3D Printed Prototypes: It’s perfect for post-processing 3D printed prototypes, especially those made from ABS, where a clear, finished look is important for presentation and testing.
- Medical Devices: Producing visually clear parts that require smooth surfaces for hygiene and safety.
- Optical Components: Enhances the surface finish of lenses or covers, improving optical transparency in machined plastics.
- Consumer Products: Used in cases and housings where a sleek polished exterior matters.
- Automotive Parts: Helps achieve smooth finishes on clear or colored plastic parts without extra sanding.
Overall, vapor polishing brings value by refining surface quality in applications where clarity, smoothness, and professional appearance are key.
Step by Step Guide How to Vapor Polish at Home or in Your Shop
Vapor polishing at home or in a small shop isn’t as complicated as it sounds. With the right setup, tools, and safety steps, you can achieve a smooth, clear finish on your plastic parts like a pro.
DIY Vapor Polishing Setup
Here’s what you’ll need to get started:
- A sealed chamber or container – something like a glass or metal box that can trap the chemical vapors.
- The polishing solvent – acetone works great for ABS 3D print vapor finishing, while other plastics like acrylic might need specific solvents.
- Heat source – to gently warm the solvent and create vapors.
- Safety gear – gloves, goggles, and a well-ventilated space to avoid harmful fumes.
- Plastic parts – make sure they’re clean and free of oils or dust for best results.
Tools and Safety Essentials
- Gloves and goggles – protecting your skin and eyes is a must.
- Ventilation – use a fan or work near an open window.
- Temperature monitor – keep an eye on the solvent temperature to avoid overheating.
- Timer – to control exposure time precisely, usually just a few minutes.
Hands On Tutorial Polishing Your First Part
- Prepare your part by cleaning it with isopropyl alcohol or soap and water.
- Set up the vapor chamber with a small amount of solvent on a dish or soaked pad inside.
- Warm the chamber gently to start releasing vapor—do not boil.
- Place the part on a stand inside the chamber, avoiding direct contact with liquid solvent.
- Close the chamber and set a timer for 2 to 5 minutes, depending on the plastic.
- Remove the part carefully and let it air dry in a dust-free area.
- Inspect the surface; it should now be glossy and clear with improved optical transparency.
You might need to experiment a bit with timing and solvent amount depending on your plastic type and part size. Practice makes perfect when it comes to boosting the clarity of your ABS or acrylic parts through this chemical vapor smoothing process.
Pros Cons and Pro Tips for Flawless Results
Vapor polishing has some clear upsides, but it’s not perfect. Here’s what you need to know to get the best results with this method.
Advantages of Vapor Polishing
- Speed: Compared to traditional sanding or flame polishing, vapor polishing is quicker. It smooths out plastic surfaces in just a few minutes.
- Cost Effective: It uses fewer materials and less labor, making it a budget-friendly option for post-processing 3D printed prototypes or finished parts.
- Versatility: Works great on several thermoplastics like ABS and acrylic, improving optical transparency without damaging the shape.
- Improved Clarity: Vapor polishing enhances the shine and clarity of plastic parts better than flame polishing or mechanical sanding.
- Less Physical Effort: No need for heavy sanding or polishing wheels, so it’s easier on your hands and reduces the risk of unwanted scratches.
Potential Drawbacks and How To Overcome Them
- Health and Safety Risks: Chemical vapor smoothing plastics involves solvents that can be harmful if not handled correctly.
- Always use proper ventilation.
- Wear protective gloves and a mask.
- Equipment Setup: DIY acetone vapor chambers need careful setup and temperature control to avoid uneven polishing or melting.
- Use a temperature sensor and test with small parts first.
- Limited Material Compatibility: Not all plastics respond well to vapor polishing. Materials like PETG or certain nylons don’t polish well or may warp.
- Confirm your material’s compatibility before starting.
- Surface Imperfections: Any deep scratches or defects might not completely disappear.
- Pre-sanding rough areas before vapor polishing can help.
- Size Restrictions: Large parts may require professional machines to ensure even polishing.
- For bigger items, consider professional plastic polishing services.
Pro Tips for Best Results
- Test on a scrap piece to dial in timing and technique.
- Clean parts thoroughly to avoid trapped dirt or oils causing spots.
- Keep the vapor chamber sealed tight for consistent solvent vapor concentration.
- Use light, even exposure—too long can soften parts excessively.
- Store polished items properly to maintain clarity and avoid dust buildup.
Vapor polishing offers a solid balance of speed, cost, and quality. With a little care and attention, you’ll get smooth, clear plastics that look professional every time.
When to Choose Professional Vapor Polishing Services Scaling Up Why Partner with Experts Like Vast
If you’re working on small parts or occasional projects, DIY vapor polishing might do the job. But when you need consistent quality, high volume, or complex finishes, going pro makes sense. Professional vapor polishing services, like those offered by Vast, have the right equipment and expertise to deliver flawless, repeatable results every time.
Here’s why partnering with experts is a smart move:
- Consistent Optical ClarityPros ensure your polished plastics achieve the best possible transparency, critical for displays or optical parts.
- Handling Complex Shapes and SizesProfessionals can polish tough-to-reach areas and large parts that DIY setups struggle with.
- Speed and EfficiencyWith industrial vapor chambers, turnaround times are faster, which is great if you’re scaling prototypes or ramping up production.
- Material ExpertiseSome plastics like polycarbonate or ABS 3D prints need precise process control. Experts know exactly how to tailor the vapor smoothing settings.
- Safety and ComplianceProfessional facilities handle chemicals safely and meet environmental standards, reducing risk for you and your team.
Scaling up your post-processing with a trusted partner like Vast saves time, cuts down waste, and guarantees a polished finish ready for the U.S. market. When your project demands high clarity and quality, professional vapor polishing is the way to go.