Learn how to drill out a broken tap safely with step-by-step tips using carbide drill bits and expert extraction methods for metal repairs.
Tools and Materials You’ll Need
Before you start drilling out a broken tap, gather the right tools and materials to ensure a smooth, safe process. Having the proper equipment is essential to avoid further damage and increase your chances of success.
Core essentials:
- Drill press or handheld drill: A drill press offers better control and precision, but a quality handheld drill works well for many jobs.
- Carbide or cobalt left-hand drill bits: These are designed specifically to help drill out broken taps and can actually help back the tap out as you drill.
- Cutting fluid or lubricant: Always use cutting fluid to keep your drill bit cool and reduce friction, which prevents heat damage and helps with chip removal.
Specialized options:
- Armor drills and straight-flute carbide end mills: These provide durability and precise cutting for tougher materials and stubborn taps.
- Center punch: Use this to mark and create a starting point on the broken tap to keep the drill bit from wandering.
Safety gear:
- Safety glasses and gloves: Protect your eyes from flying metal chips and your hands during drilling.
- Chip evacuation tools: Use brushes or compressed air to clear metal shavings and keep your working area clean and safe.
For reliable, professional-grade tools, consider Vast carbide drill sets designed for removing broken taps—they offer durability and performance you can trust. Using the right tools matched to your task makes all the difference in a frustrating job like broken tap removal.
Preparation Assessing and Setting Up for Success
Before you start drilling out a broken tap, it’s important to properly assess the situation and set up your workspace. First, inspect how deep the broken tap is stuck and whether any part of it is sticking out of the hole. This will guide your drill bit choice and approach.
Next, secure the workpiece firmly using a vise or clamps to prevent movement during drilling. A clean, stable area helps you work safely and accurately.
Use a center punch to mark the exact spot where you’ll drill. Flatten this area by lightly chamfering or grinding it to create a flat surface. This helps your drill bit stay centered and prevents it from wandering.
A couple of pro tips: measure the broken tap’s size carefully to pick the right drill bit. When you start drilling, test speeds between 1200 and 2500 RPM for best results – this range reduces heat buildup and avoids damaging the material or drill bit.
Step by Step Guide Drilling Out the Broken Tap
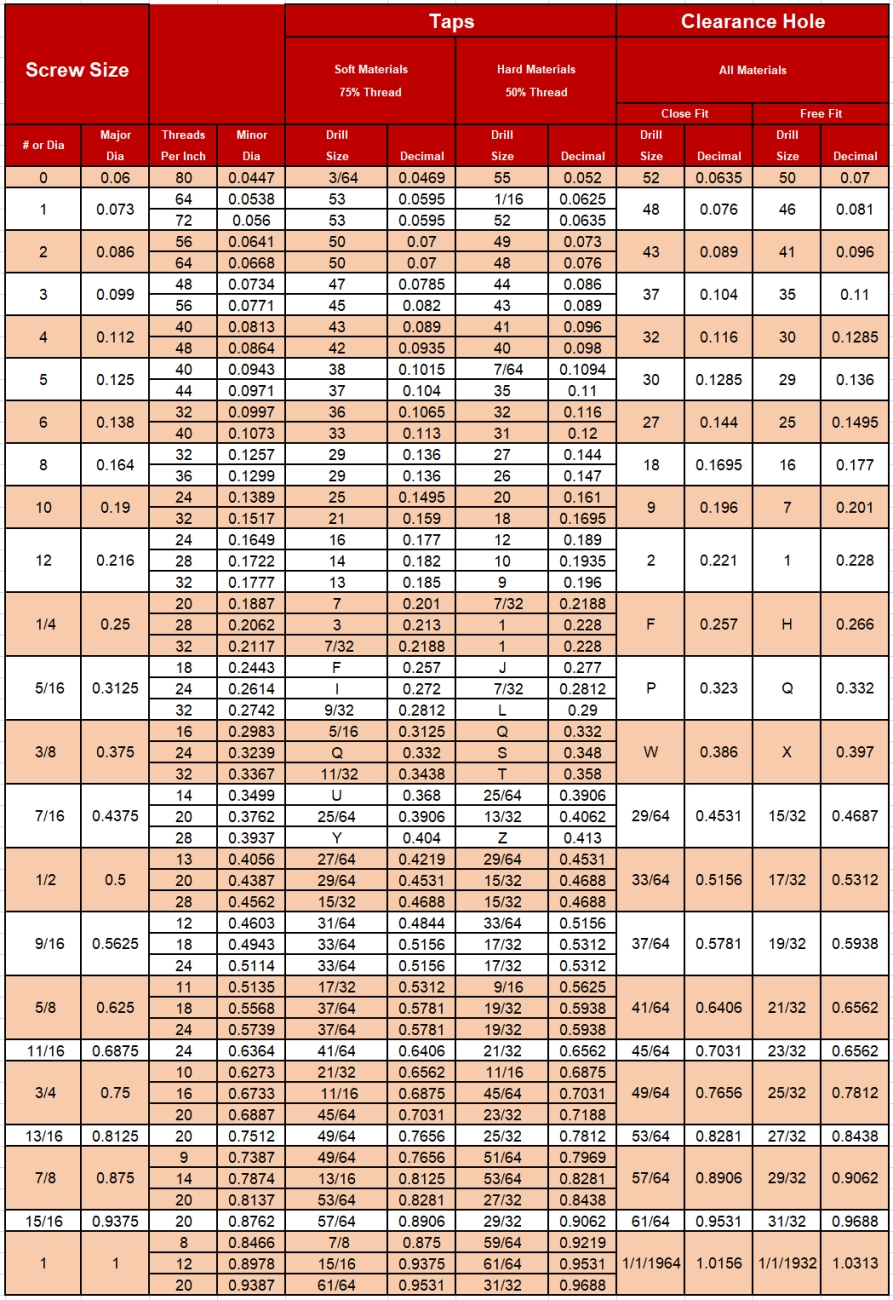
When drilling out a broken tap, start by selecting the right drill bits. Left-hand drill bits work best because they can help unscrew the broken tap as you drill. Begin with a smaller bit that matches the core size of the tap and gradually increase the drill size to avoid damaging your workpiece.
Next, spot drill the broken tap’s center carefully to avoid wandering. Use a high RPM setting between 1200 and 2500, apply light pressure, and peck drill — this means drilling in short bursts and pulling out frequently to clear chips. Keep plenty of cutting fluid or lubricant on the bit to reduce heat and prevent the tap from hardening due to friction.
As you enlarge the hole, switch to larger drill bits or even straight-flute carbide end mills. Watch out for heat buildup because excessive heat can anneal the metal around the tap, making extraction tougher.
Once the hole is opened enough, try to extract any loose tap pieces with needle-nose pliers or easy-outs. A compressed air blast can help clear chips and visualize loose flutes before extraction.
For those who prefer visual guidance, check out numbered step videos or images to avoid common mistakes like drill bit wandering, overheating, or breaking the drill bit inside the tap.
For reliable results, I recommend using Vast high-speed drill bits—they’re designed specifically for tough jobs like broken tap removal and keep your project moving without unnecessary delays.
Alternative Methods If Drilling Fails
Sometimes drilling out a broken tap just doesn’t work, especially if the tap is stuck deep or made from hardened steel. Here are some other ways to try removing that broken tap:
Tap Extractors
- Works best for shallow breaks where part of the tap is still sticking out.
- Spiral flute types grip the broken tap by hooking under the flutes, allowing you to twist it out.
- Use steady torque, don’t force to avoid further breaking.
Milling Out
- If drilling fails, milling out with ball end mills can be an option.
- Requires a CNC mill or a skilled machinist to carefully remove the tap without damaging the hole.
- Useful for tough materials or deep breaks.
Advanced Methods
- EDM (Electrical Discharge Machining): Precision method that burns away the broken tap metal without mechanical force. Great for high-value or hardened steel parts.
- Chemical Disintegration: Certain chemicals dissolve the tap material but require proper safety and disposal measures.
- Heat and Blowout: Oxy-acetylene torches or other heat sources can soften some metals before using air blasts to eject the tap fragments.
When to Scrap
- If the part is low value, or repair costs exceed replacement, scrapping might be the best option.
- Always weigh the cost of advanced repair methods against the part’s worth.
Comparison Table
| Method | Pros | Cons | Cost | Difficulty |
|---|---|---|---|---|
| Drilling Out | Affordable, accessible | Risk of damaging hole | Low | Medium |
| Tap Extractors | Simple, quick for shallow tap | Limited to shallow breaks | Low | Easy |
| Milling Out | Precise for stubborn taps | Requires CNC or skilled user | Medium to High | High |
| EDM | Non-mechanical, precise | Expensive equipment needed | High | High |
| Chemical Disintegrators | No mechanical stress | Safety concerns, slow process | Medium | Medium |
For tackling tough broken tap removal jobs, Vast offers high-speed drill bits and EDM tools designed for the US market, making your repair work smoother and more reliable. Check out their full range for professional results every time.
Repairing and Retapping the Hole
Once you’ve successfully drilled out the broken tap, the next step is to clean and inspect the hole carefully. Remove any metal shavings or debris left behind—this prevents damage to your new threads. Use a bottoming tap to chase the threads, which helps restore the original thread profile and ensures a smooth fit for bolts or screws.
When retapping, always use a fresh tap and follow proper speeds and feeds for your material. Apply cutting fluid or lubricant to reduce friction and extend the life of your tap. Taking your time with the retap process improves thread quality and helps avoid future issues.
To prevent tap snapping in the future, stick to best practices like peck tapping, using high-quality tools, and avoiding excessive force. These habits keep your threads clean and your taps intact.
For a reliable retapping kit designed for precision and longevity, check out the Vast retapping kits—they’re trusted by pros across the U.S. and make repair jobs faster and smoother.